Casambi Cloud Gateway Installation Guide
How to add the Casambi Cloud Gateway to a network:
1. Take the Casambi Cloud Gateway device out of the package. Plug in the power cord and connect the gateway to a power source.

2. Open the Casambi App. Go to ‘My networks’ to select the network you want to add the gateway to. The gateway can only be connected to one network at a time.
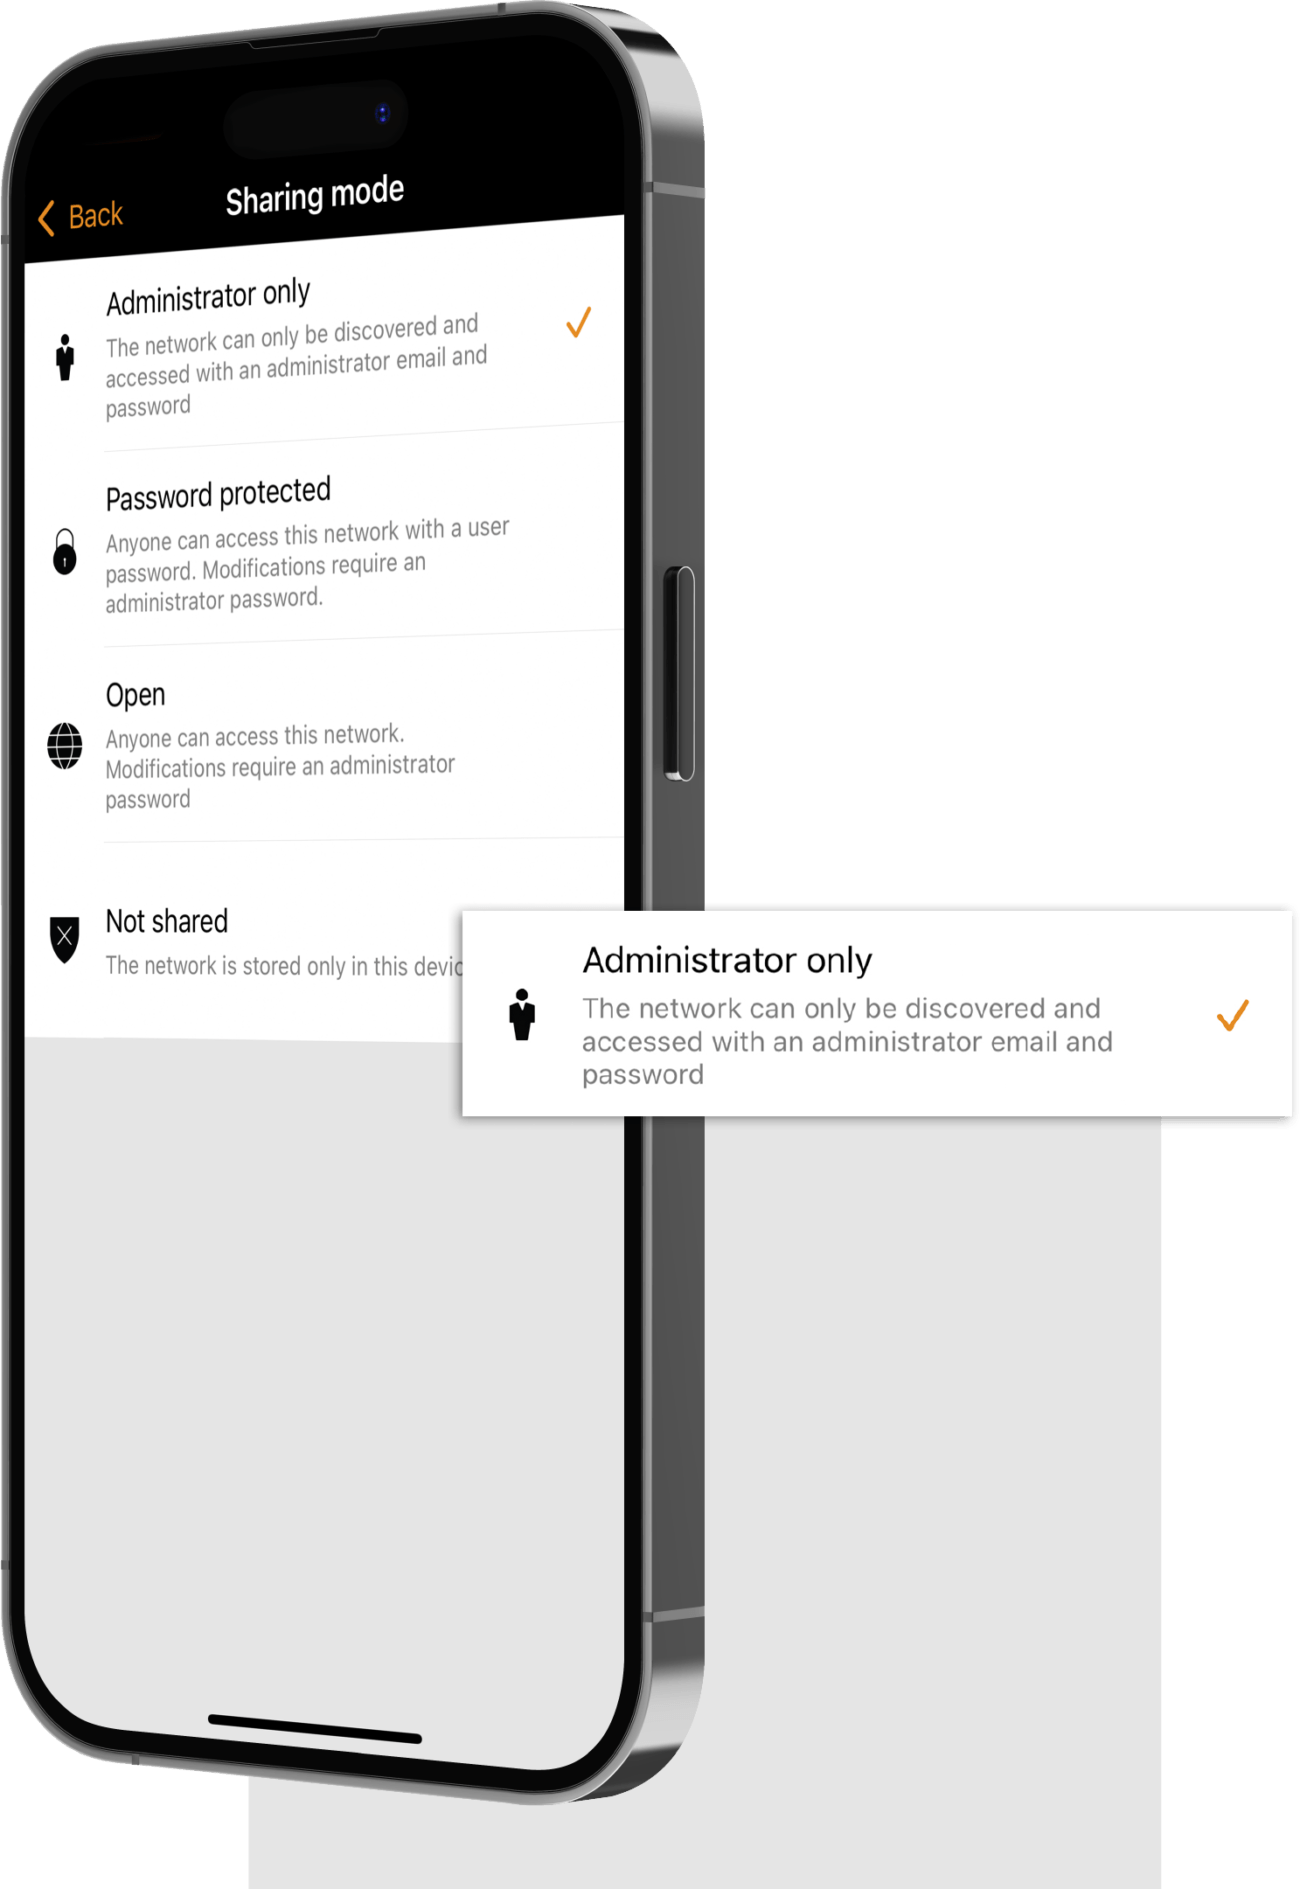
3. Log in to the network that you want to add the gateway to. The network sharing settings must be set to either ‘Administrator only’ or ‘Password protected’.
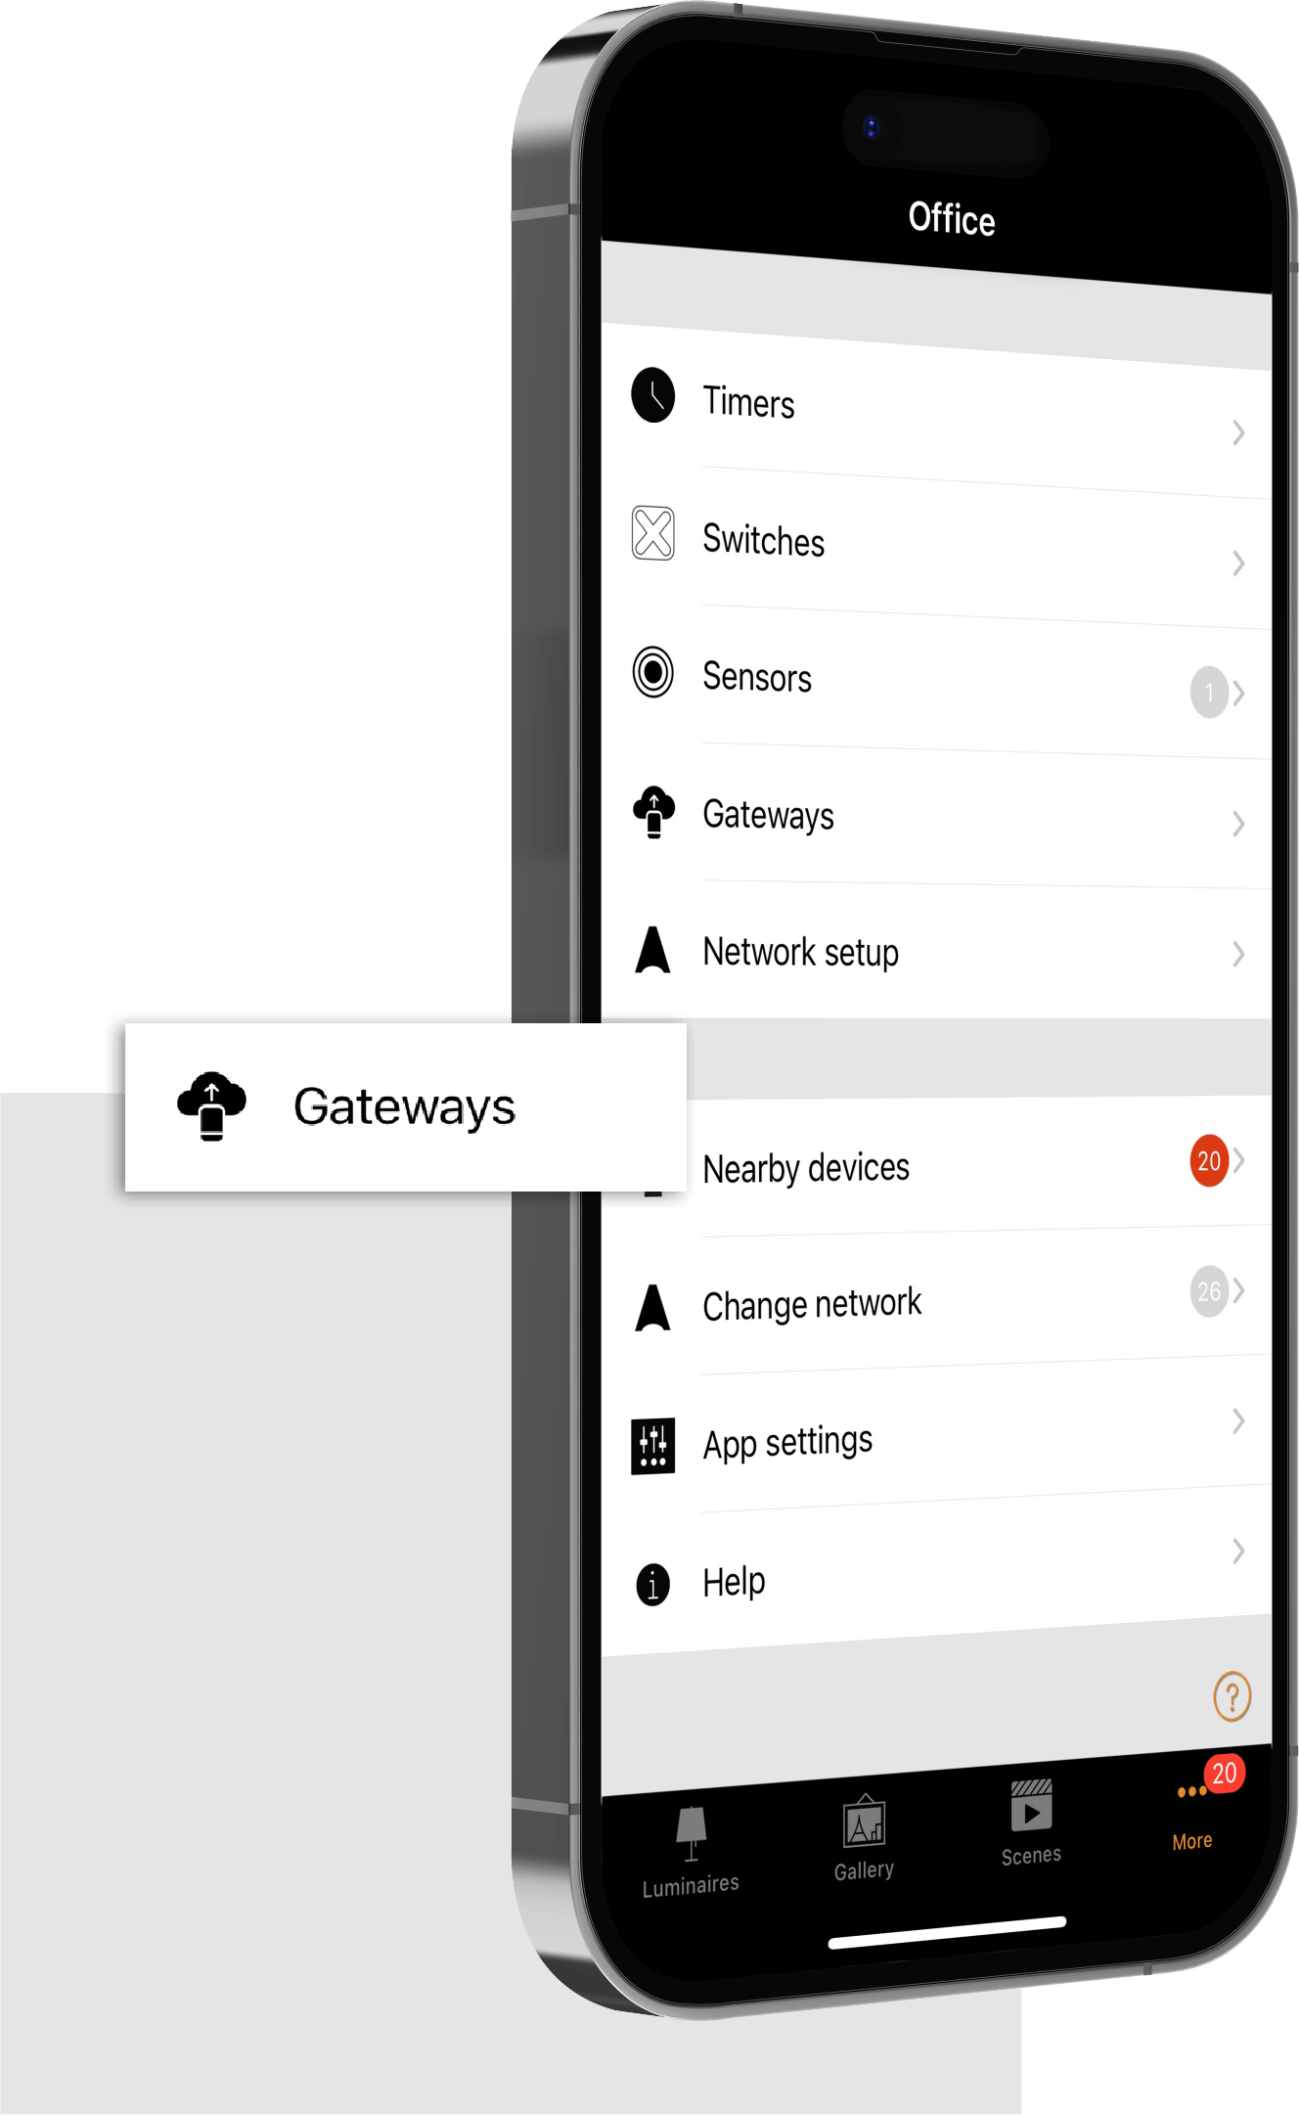
4. When logged in to the selected network, navigate to the ‘More…’ tab and select ‘Gateways’.
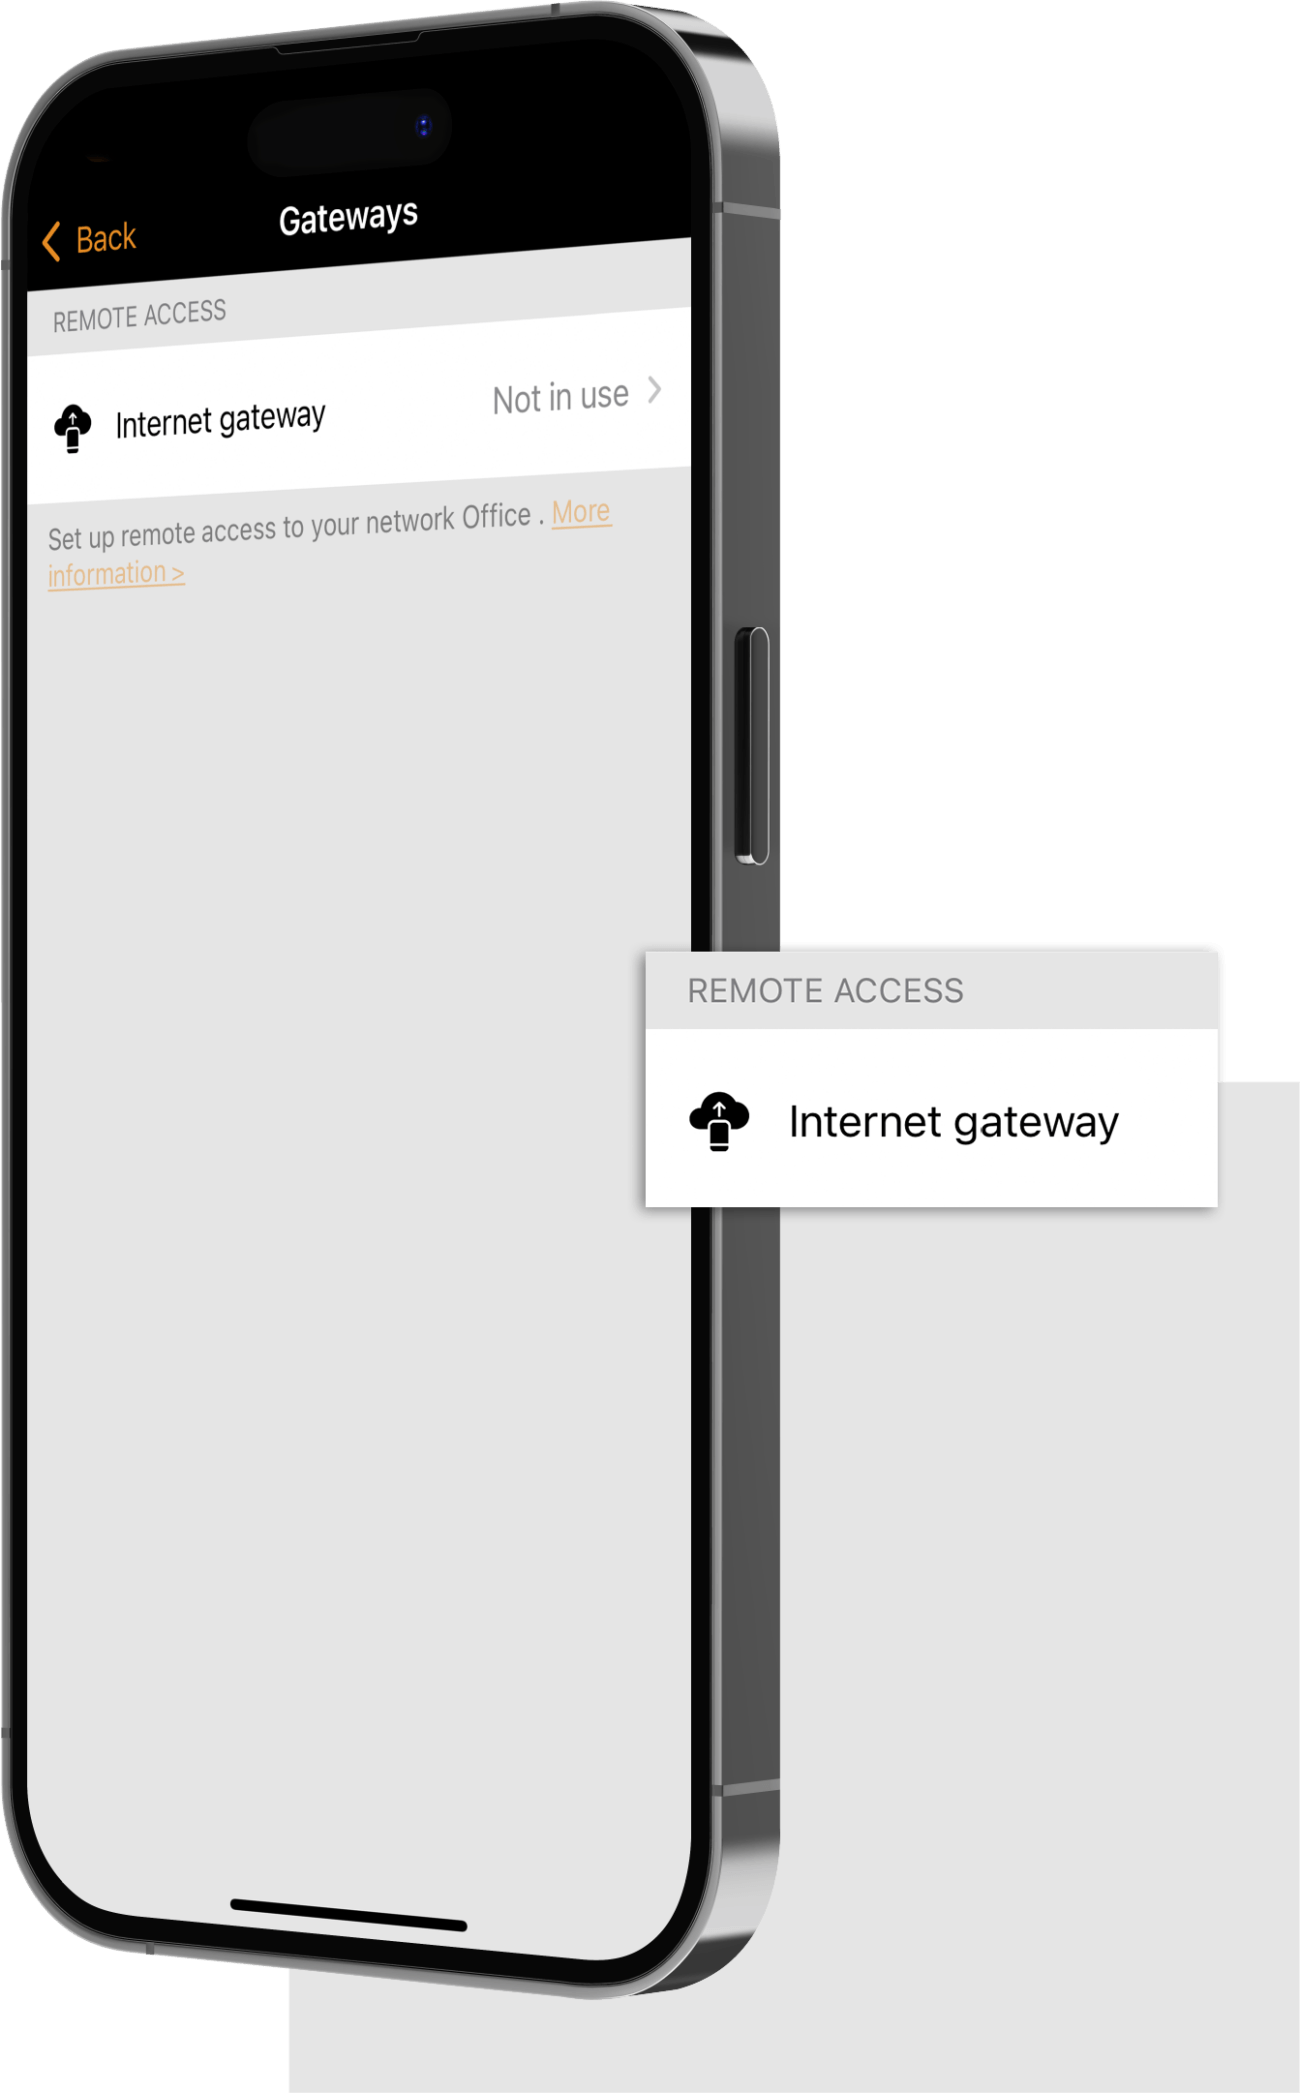
5. Select ‘Internet gateway’ to open the Internet gateways view.
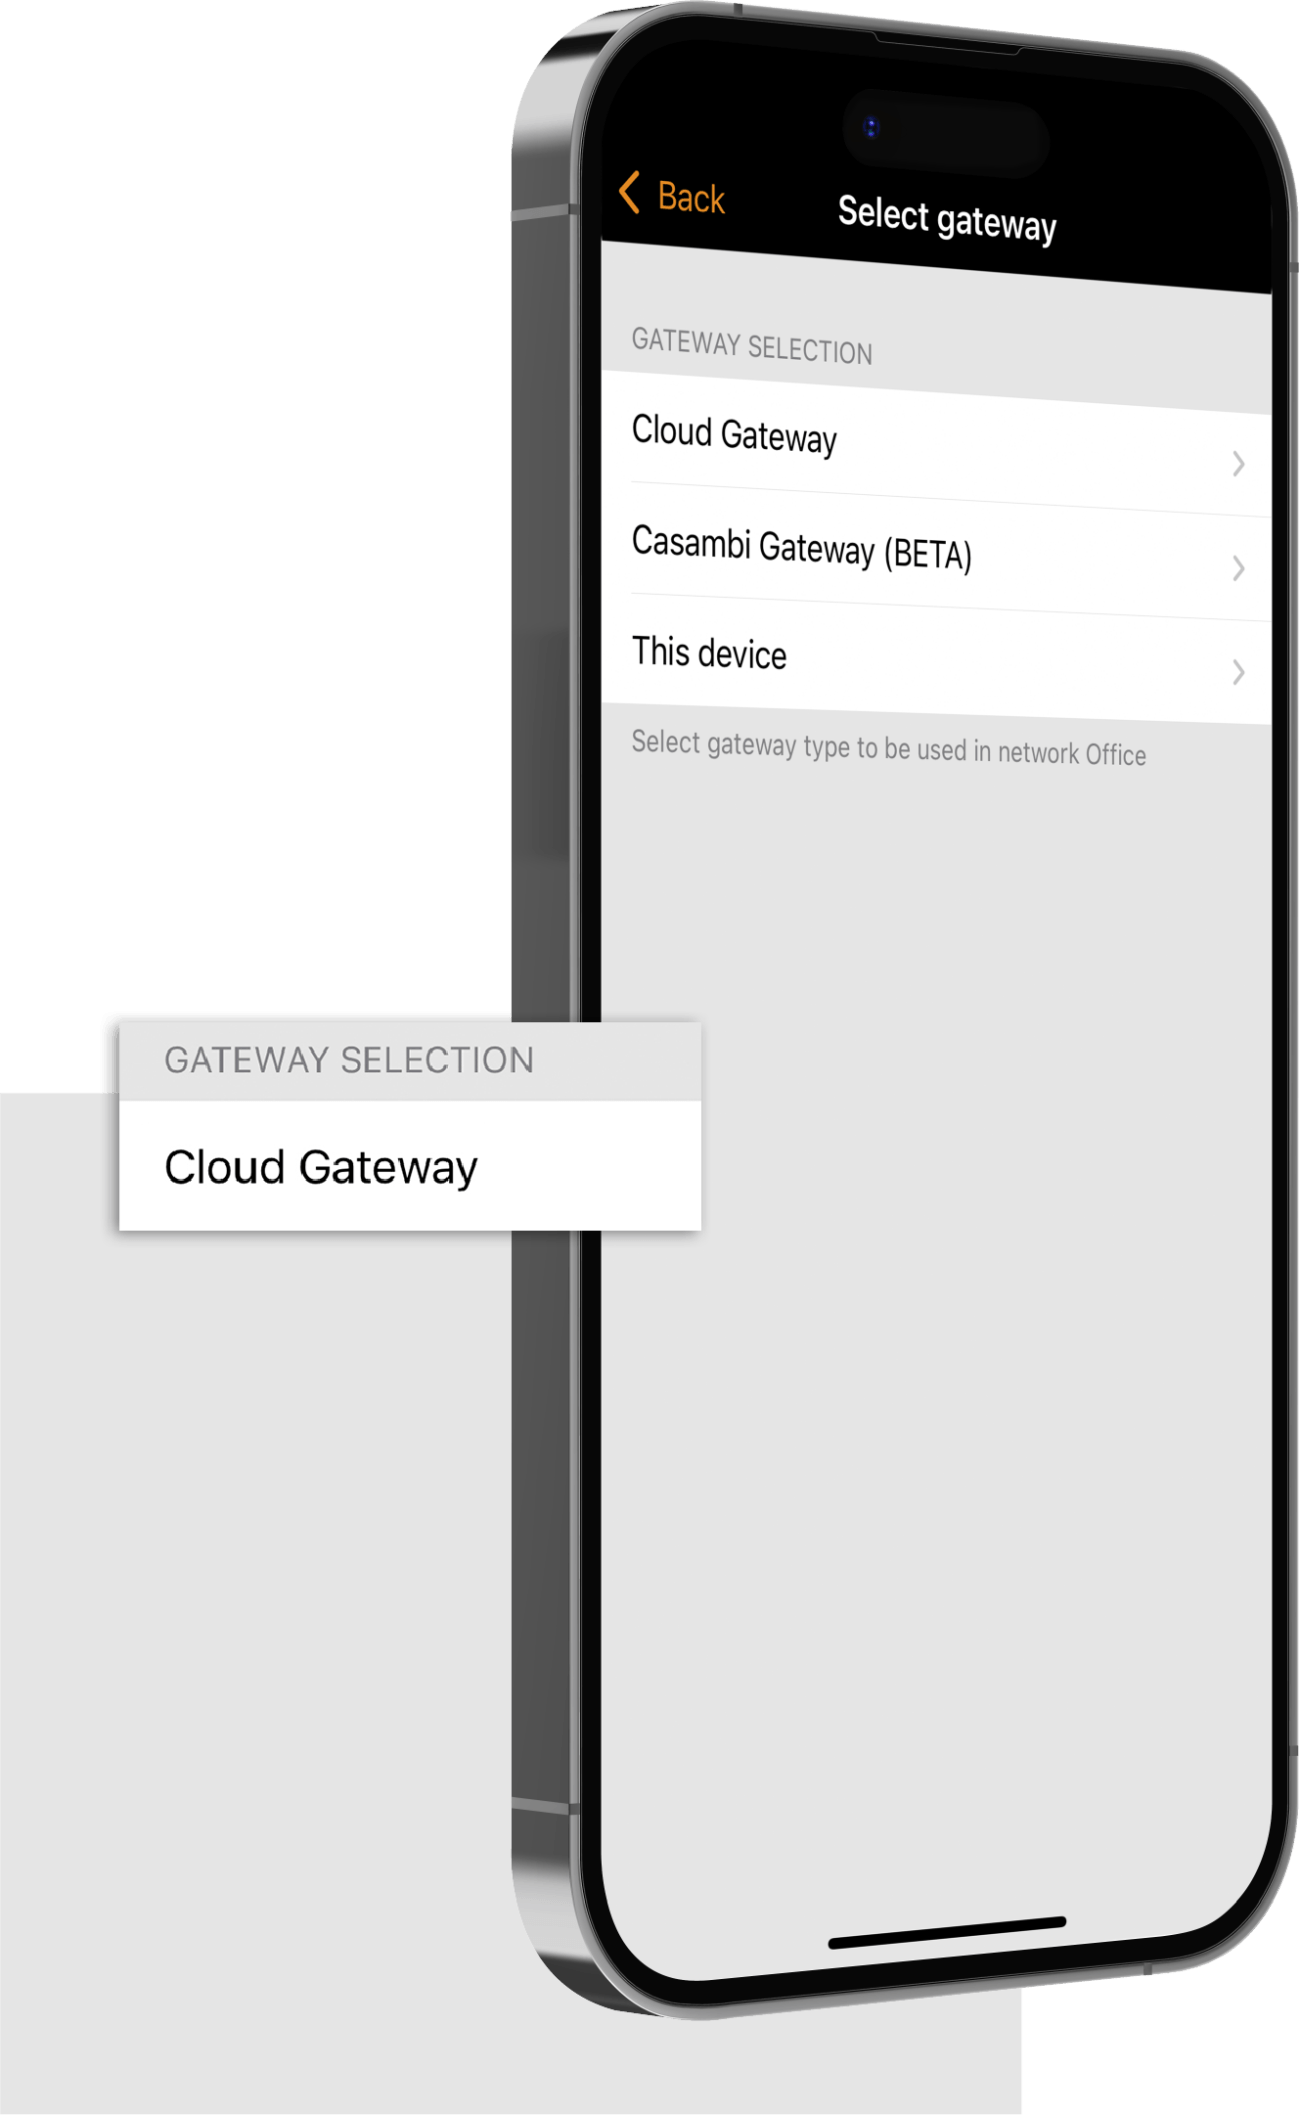
6. Select ‘Cloud gateway’ from the available options.
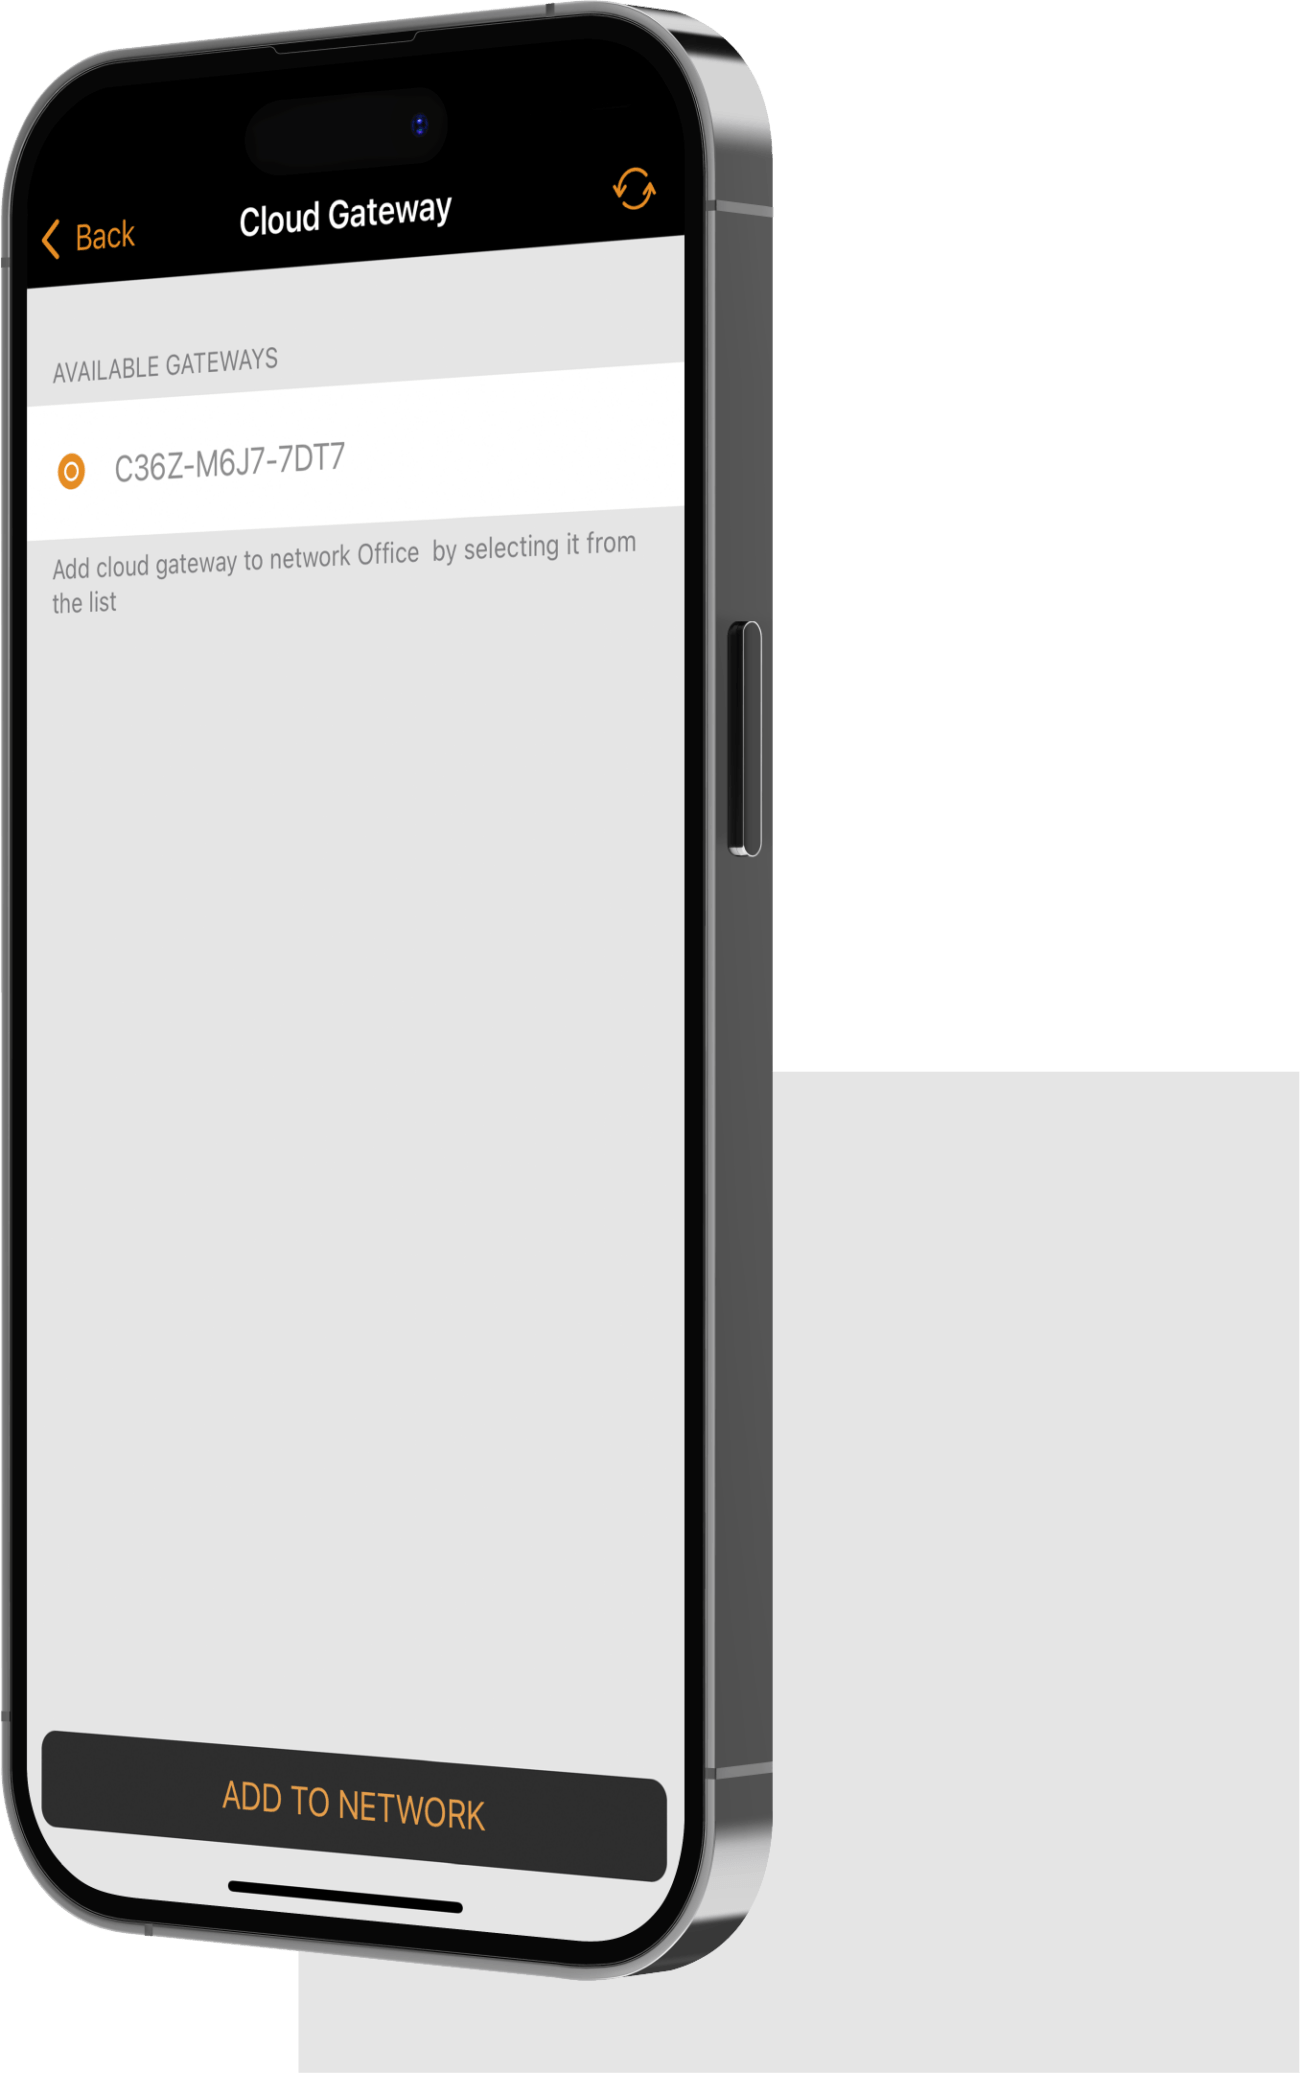
7. The app will now search for available gateways within Bluetooth range of your device and list them under ‘Available gateways’. Tap on the gateway that you want to add to your network. Tap on ’ADD TO NETWORK’ to complete the setup.
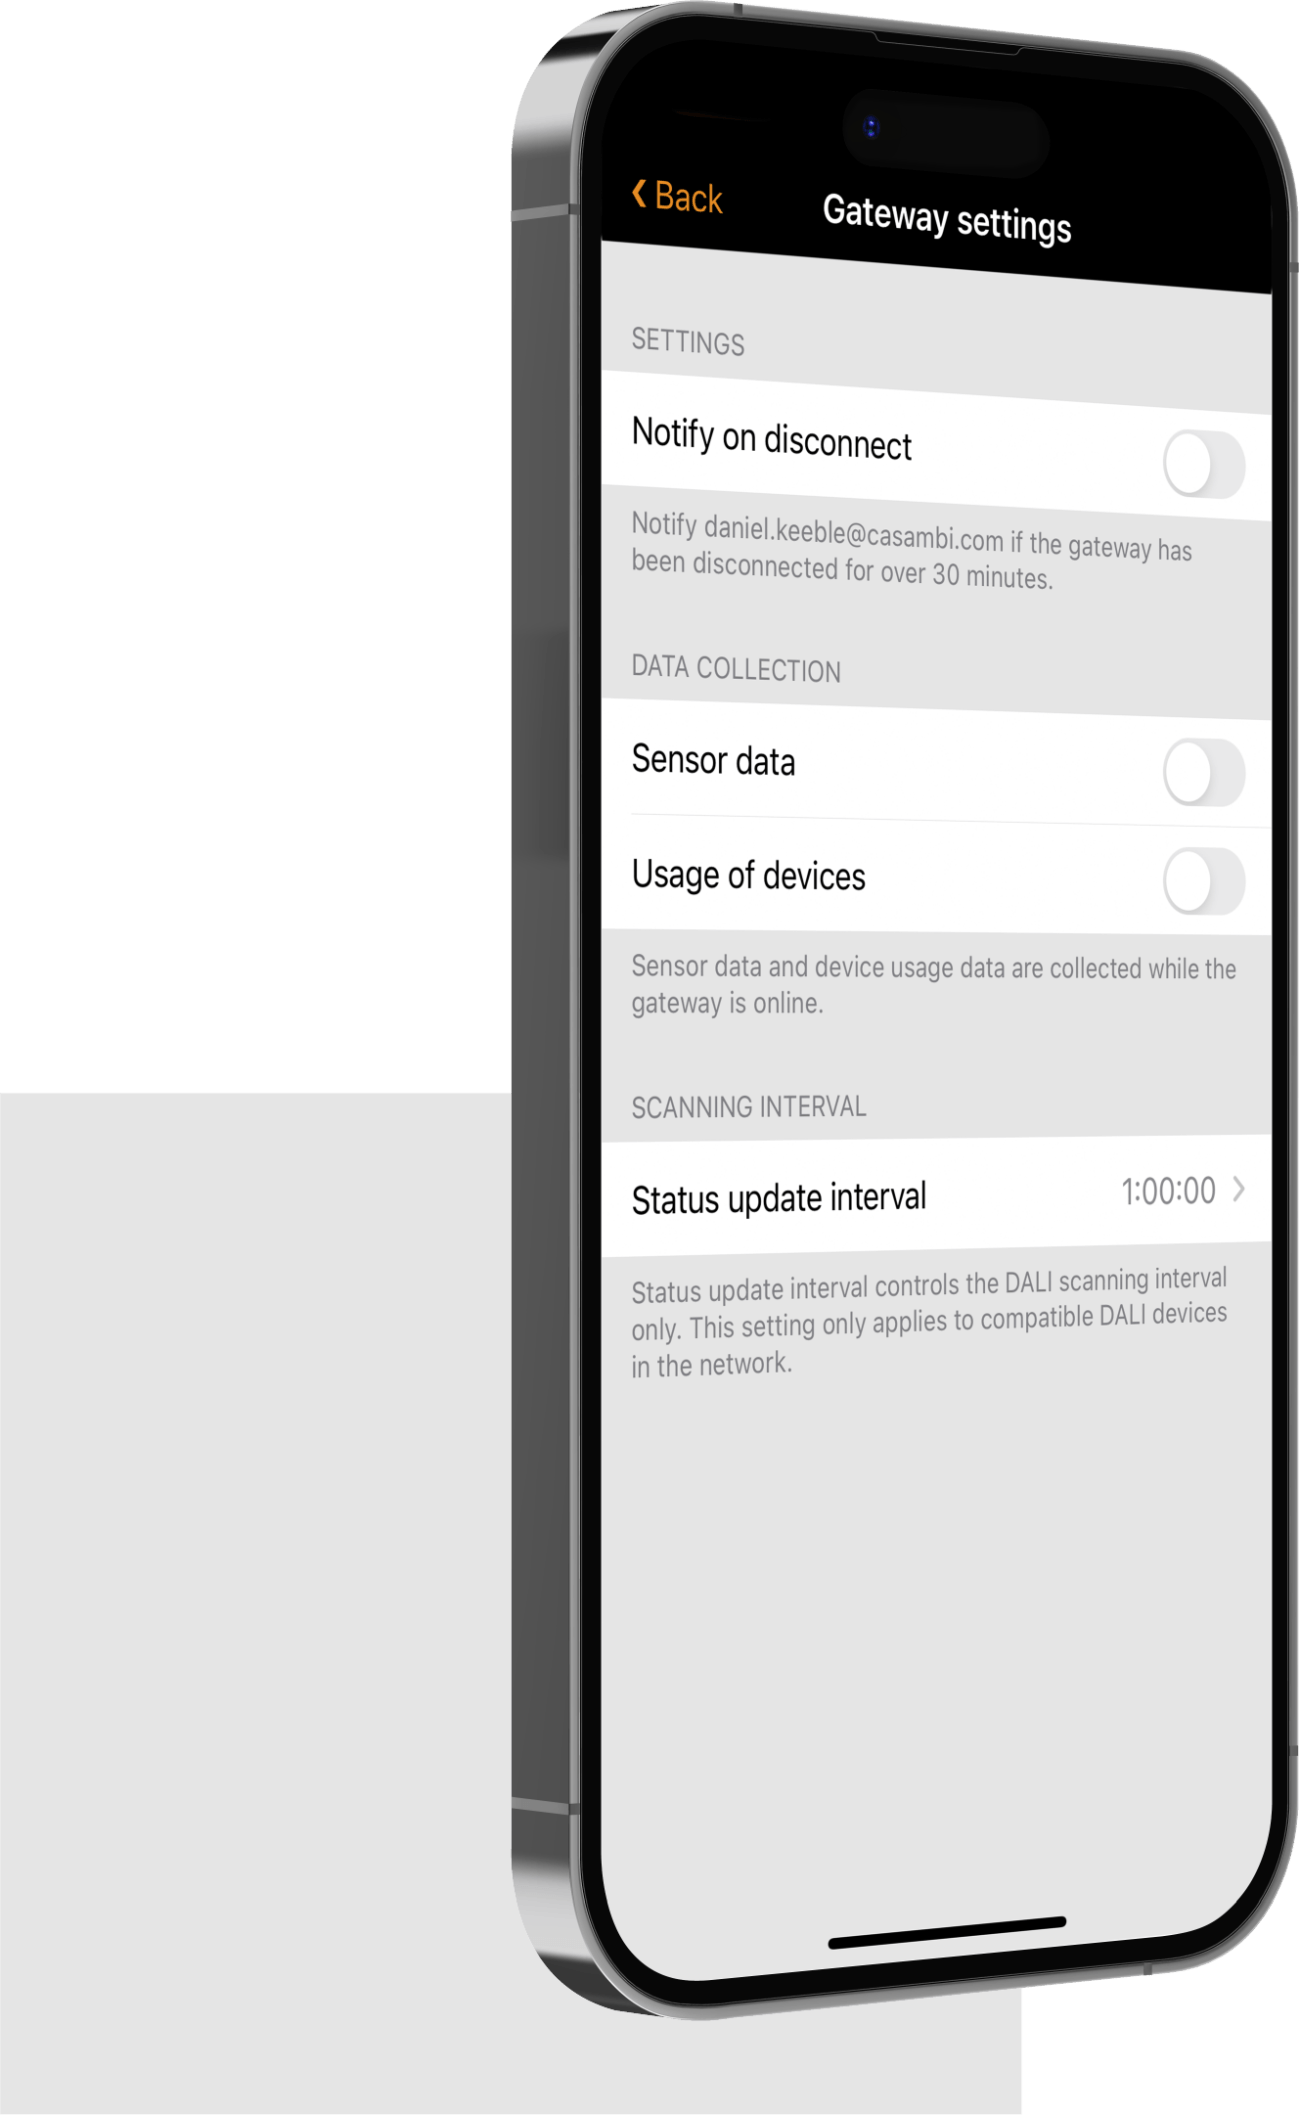
8. You can now view and edit the notifications and data collection under Settings.
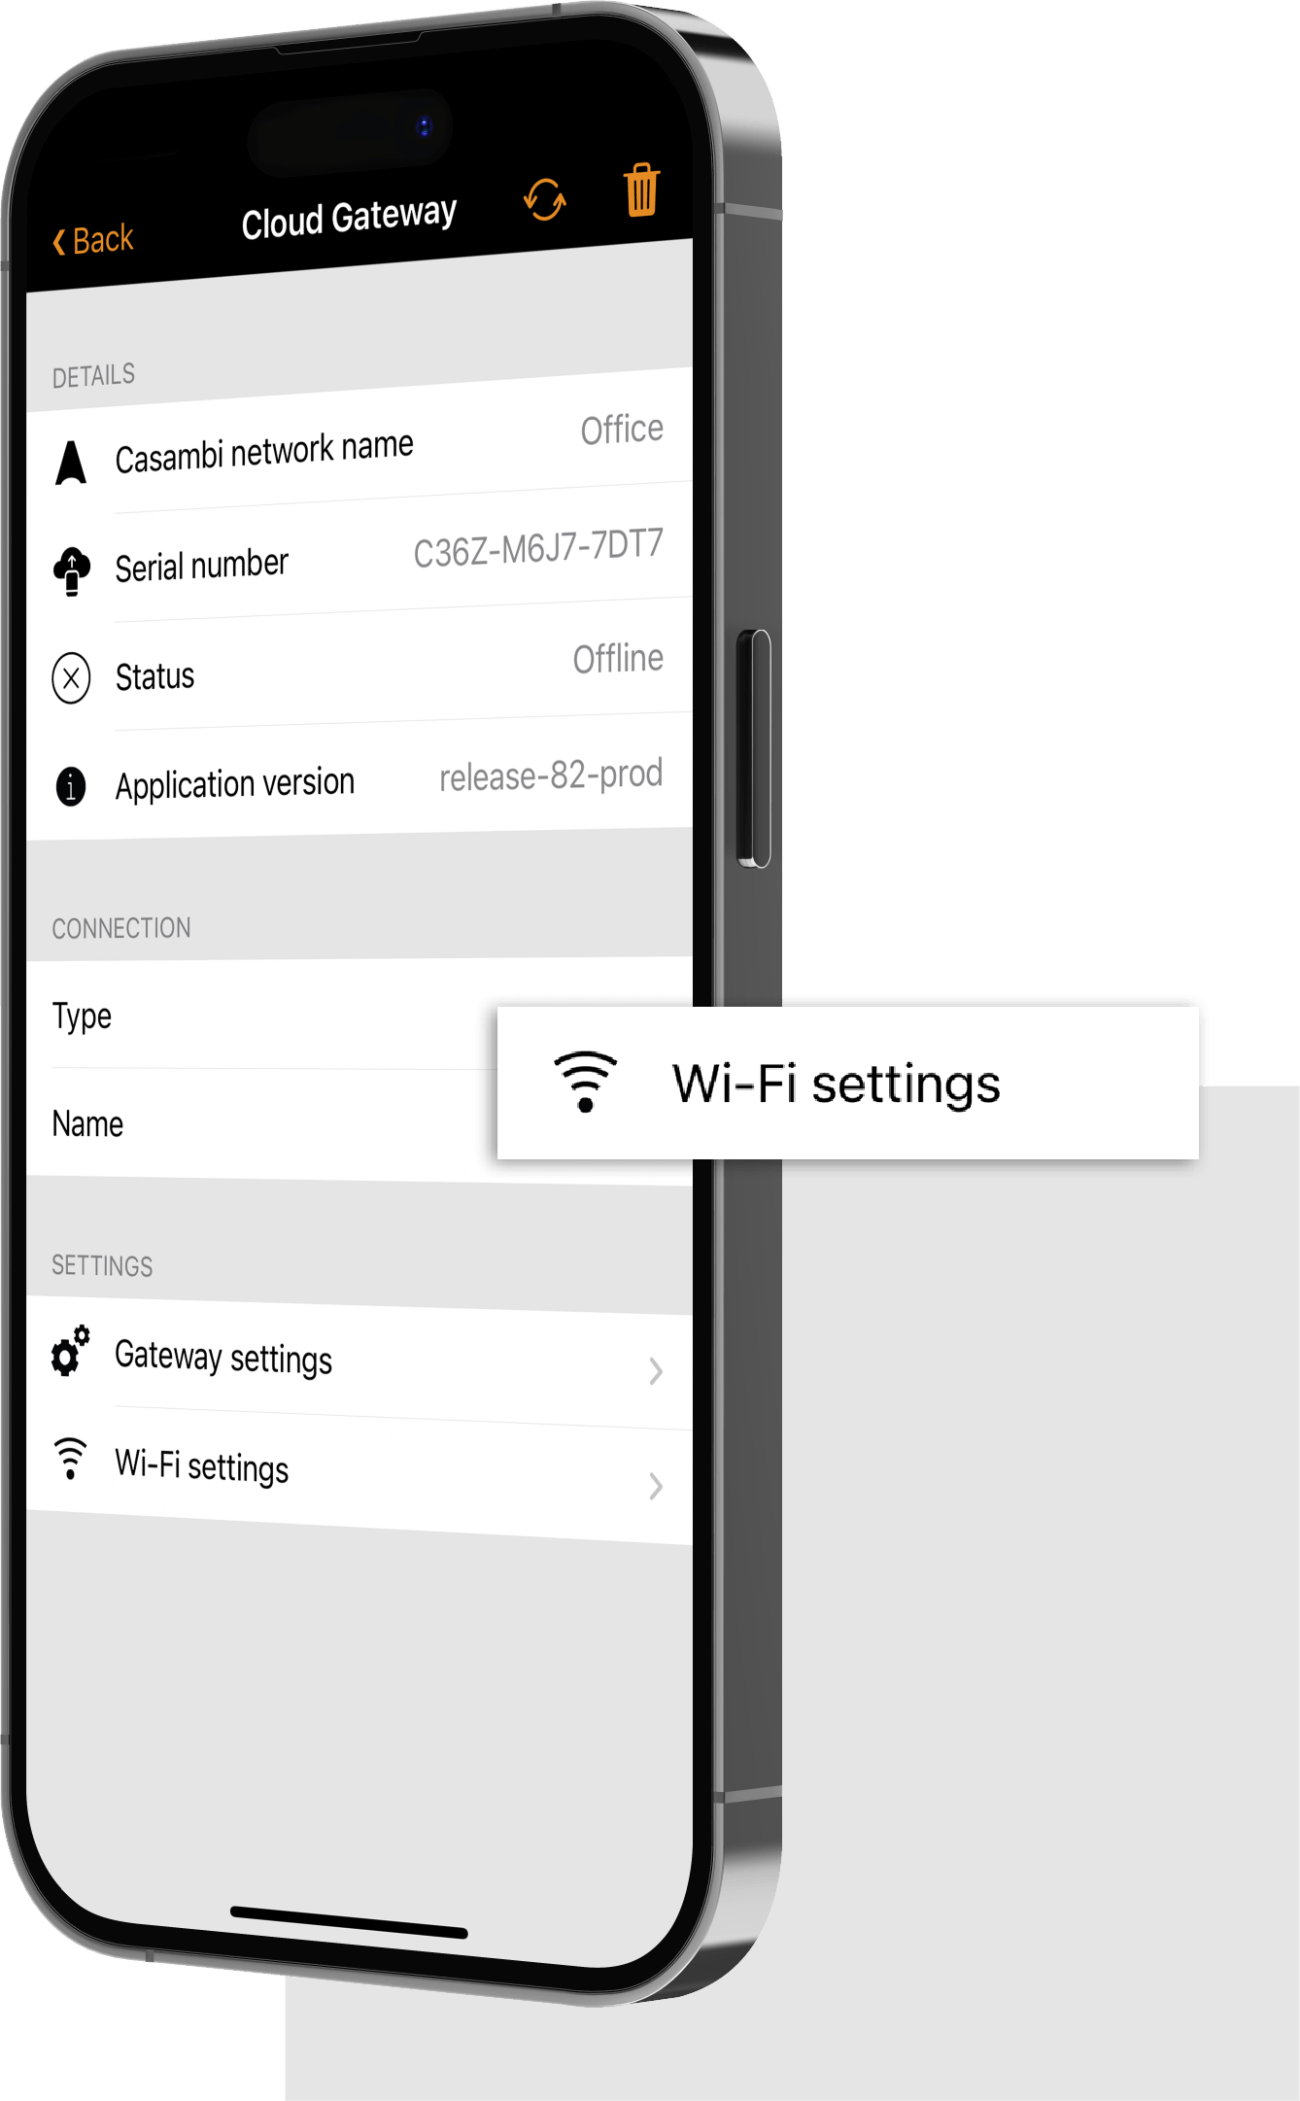
9. To set up a Wi-Fi connection, select ‘Wi-Fi settings’ under Settings.
How to remove the Casambi Cloud Gateway from the selected network:
- Tap on the trash can icon in the top right-hand corner to remove the gateway from the network.
- A pop-up will appear to enable the removal of the gateway. Tap on ‘Ok’ to remove it or select ‘Cancel’ to cancel the removal.
- The gateway can now be taken into use in another network.
Wi-Fi Management
An existing Wi-Fi connection can be removed by removing the gateway from the Casambi network via the Casambi App (Please follow the instructions given earlier in this guide). A new Wi-Fi connection can be set up by going through the setup process again.